作者:陈瑞金 南方Linux
在这安装VPN有好多种。这里介绍一种就是我们常用的。PPTP for Linux 这个我就不多讲了。因为在用linux架设,在wind内建的程序都可以支持。可以直接安装连接这个VPN。所以很方便。
在这里要安装PPTP这个服务端。
1。更新ubuntu 源。
root@ruijin:/etc/ppp# cat /etc/apt/sources.list
deb http://ubuntu.csie.ntu.edu.tw/ubuntu/ hardy main restricted universe multiverse
deb-src http://ubuntu.csie.ntu.edu.tw/ubuntu/ hardy main restricted universe multiverse
deb http://ubuntu.csie.ntu.edu.tw/ubuntu/ hardy-updates main restricted universe multiverse
deb-src http://ubuntu.csie.ntu.edu.tw/ubuntu/ hardy-updates main restricted universe multiverse
deb http://ubuntu.csie.ntu.edu.tw/ubuntu/ hardy-backports main restricted universe multiverse
deb-src http://ubuntu.csie.ntu.edu.tw/ubuntu/ hardy-backports main restricted universe multiverse
deb http://ubuntu.csie.ntu.edu.tw/ubuntu/ hardy-security main restricted universe multiverse
deb-src http://ubuntu.csie.ntu.edu.tw/ubuntu/ hardy-security main restricted universe multiverse
deb http://ubuntu.csie.ntu.edu.tw/ubuntu/ hardy-proposed main multiverse restricted universe
deb-src http://ubuntu.csie.ntu.edu.tw/ubuntu/ hardy-proposed main restricted universe multiverse
########
deb http://tw.archive.ubuntu.com/ubuntu hardy main restricted universe multiverse
deb http://tw.archive.ubuntu.com/ubuntu hardy-security main restricted universe multiverse
deb http://tw.archive.ubuntu.com/ubuntu hardy-updates main restricted universe multiverse
deb http://tw.archive.ubuntu.com/ubuntu hardy-backports main restricted universe multiverse
deb http://tw.archive.ubuntu.com/ubuntu hardy-proposed main restricted universe multiverse
deb-src http://tw.archive.ubuntu.com/ubuntu hardy main restricted universe multiverse
deb-src http://tw.archive.ubuntu.com/ubuntu hardy-security main restricted universe multiverse
deb-src http://tw.archive.ubuntu.com/ubuntu hardy-updates main restricted universe multiverse
deb-src http://tw.archive.ubuntu.com/ubuntu hardy-backports main restricted universe multiverse
deb-src http://tw.archive.ubuntu.com/ubuntu hardy-proposed main restricted universe multiverse
使用这个确保你可以更新的上。
2。更新源
#apt-get update
#apt-get upgrade
3.开始安装。
开应用程序-->系统-->新立得软件包管理器
可以按ctrl+f
并查找pptp

下面这几个就是找到相关的pptp程序

4.现在你可以安装两个程序。
A:kvpnc 这个后面的注明软件的内容这是一个客户端程序支持很多种VPN格式.
B:pptp 这个就是PPTP的VPN服务端
C:pptp-linux 这个也是PPTP的客户端软件.
二PPTP服务端的配置
1.配置/etc/pptpd.conf
root@ruijin:/etc/ppp# vi /etc/pptpd.conf
主要是添加下面两行这个很重要:
localip 192.168.0.102 #这个就是你当前主机的IP地址 在这个别的教程中没有说明只是这两个IP是在不同的网段。
Remoteip 192.168.1.241-246 #这个就是给客户端分配置的IP地址池

2.配置root@ruijin:/etc/ppp# vi option
添加dns:
ms-dns 192.168.0.102
ms-dns 202.96.128.86
ms-dns 202.96.134.133

3.配置root@ruijin:/etc/ppp# vi options.pptp
添加服务器的名称
name 192.168.0.102

4.服务端的用户各密码的配置
root@ruijin:/etc/ppp# vi chap-secret
这个的配置很关键如果你没有配置好.你的VPN就无法接连.
不同的平台他们有不同的写法
# Secrets for authentication using CHAP
# client server secret IP addresses
"ubuntu" pptp "ubuntuvpn"
"tt" * "tt" "*"
"root" * "xuejin" "*"
这个是用户名 服务 器名 密码 Ip地址
* 代表任意
# +++ generated by kvpnc. Do not edit it.
# profile: 192.168.0.102
"tt" 192.168.0.102 "tt" * 这个是说明当前有登录的信息
# --- generated by kvpnc. Do not edit it.

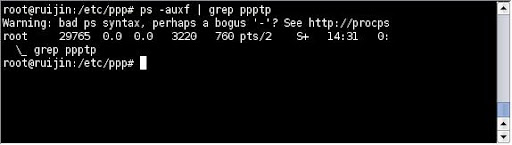
5.查看PPTP运行狀态:
#root@ruijin:/etc/ppp# ps -auxf | grep ppptp
Warning: bad ps syntax, perhaps a bogus '-'? See http://procps.sf.net/
root 29765 0.0 0.0 3220 760 pts/2 S+ 14:31 0:00 | \_ grep ppptp
如图:
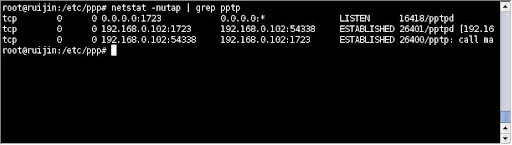
6.查看运行的端口
如图:
配置完成.
三,客户端的配置.
1.在系统文件Internet-->Kvpnc
如图:

点击第四个图标 创建VPN连接.
如图:

下一步:
在这里我们配置的是PPTP所以有只能选这个.Microsoft PPTP.
如图:

下一步:
在这里只要选择 Require MPPE.
如图:

下一步:
输入用户名和密码:
如图:
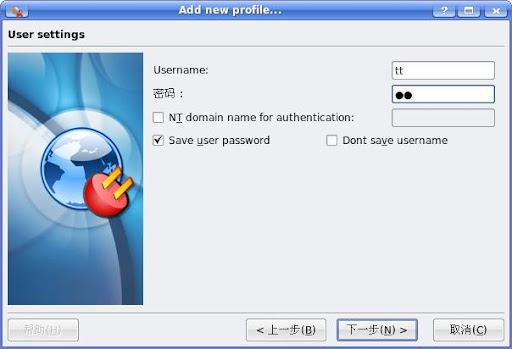
下一步:
默认不要去改.
如图:
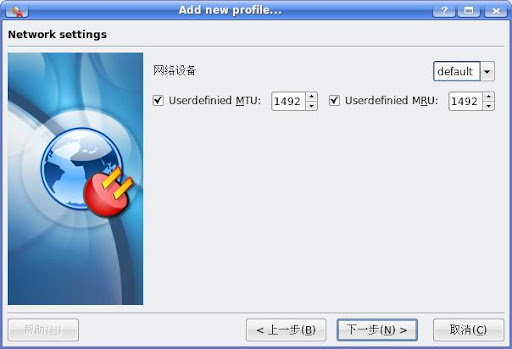
下一步:
下面这个不要填写.
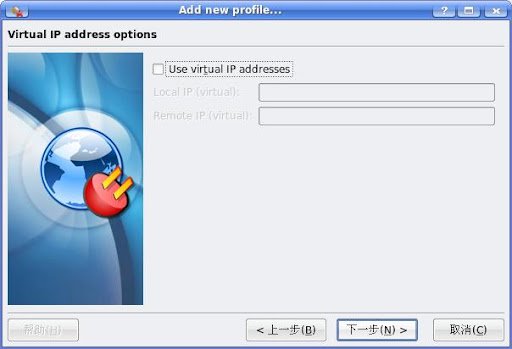
下一步:
默认就可以:
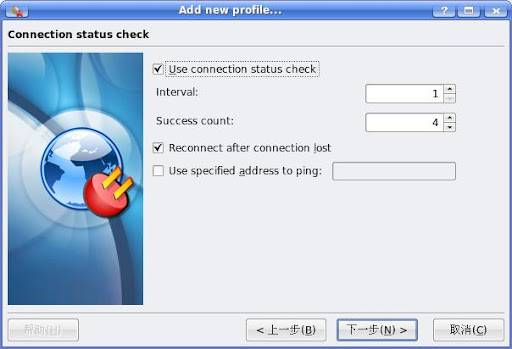
下一步:
默认就可以:
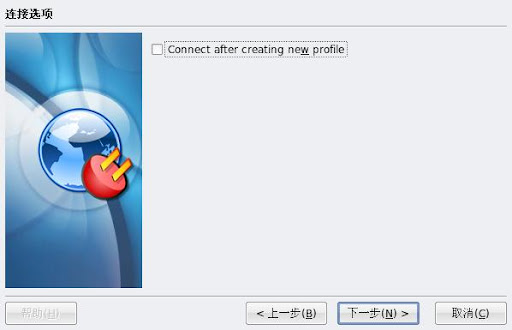
下一步:
添加用户名.和VPN的网关.
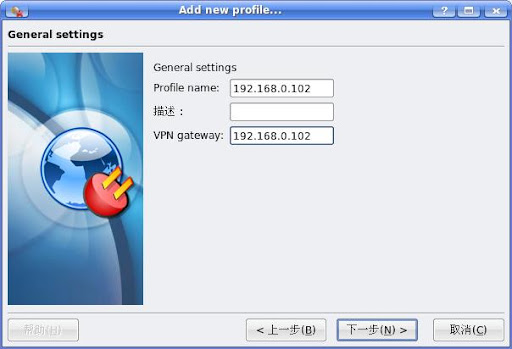
下一步:

到这里可以说是配置完成了.
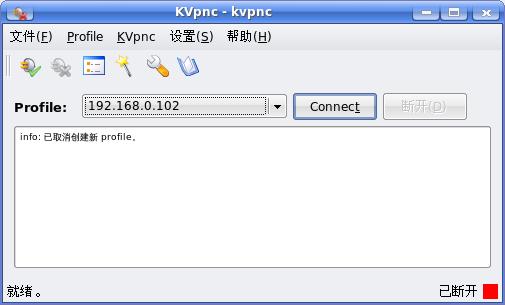
下面这个是连接VPN连接.
下一步:
点击连接:
下一步:
连上了...
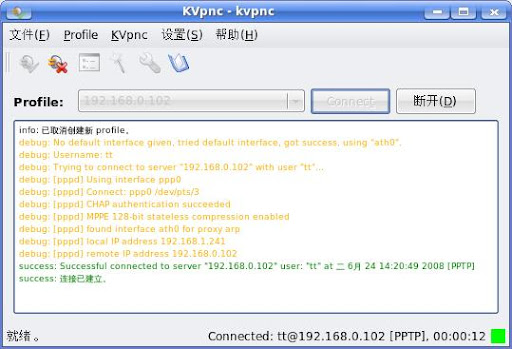
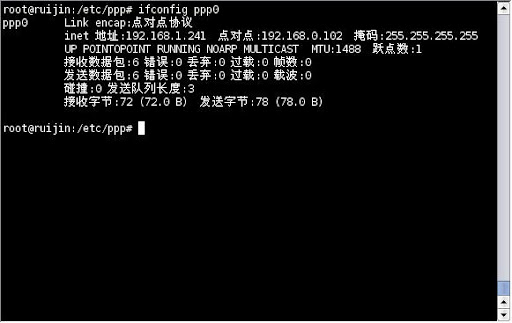
查看连接状态:
#ipconfig ppp0[/url]
如图.: