我
没有用AIT显卡,但我Google了一下,找到三条信息,希望对你们有用:
Latest ATI Linux Driver Introduces Support for Ubuntu 9.04
And Red Hat Enterprise Linux 5.3
http://news.softpedia.com/news/Latest-A ... 9720.shtml
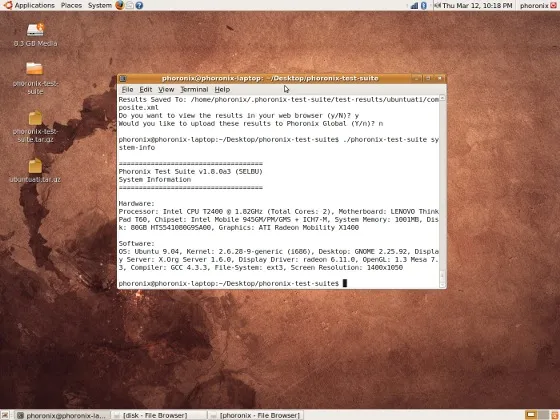
 Open-Source ATI Graphics In Ubuntu 9.04
http://www.phoronix.com/scan.php?page=a ... unty&num=1
http://www.linuxtoday.com/news_story.ph ... 5-RV-HW-SW
Open-Source ATI Graphics In Ubuntu 9.04
http://www.phoronix.com/scan.php?page=a ... unty&num=1
http://www.linuxtoday.com/news_story.ph ... 5-RV-HW-SW
 Fix Ubuntu 9.04 ATI Driver Issue
http://tan-com.com/posts/technology/lin ... iver-issue
Fix Ubuntu 9.04 ATI Driver Issue
http://tan-com.com/posts/technology/lin ... iver-issue

With the newest realease of Ubuntu (9.04 Jaunty Jackalope) came a major problem with support for older ATI graphics cards. Though these cards work with generic drivers, the ability to use dual heads and more advanced configurations has been lost. You may think that you can simply head over to AMD’s ATI driver page and get a driver, but the latest version of Catalyst does not support the older cards. “Maybe I can just download an older version of the driver,” might be what you are thinking, but the old driver is not compatible with the new version of xserver that is included with Ubuntu Jaunty.
The only way to use the old driver is to downgrade your xserver, which is actually not too hard. As long as you have an internet connection and some terminal skills, you are set.
WARNING: Running commands as root (using sudo or su) can potentially damage your operating system. Be sure to CAREFULLY read EVERYTHING. Only proceed with these steps if you are confident with what you are doing.
First off we will want to backup your current “sources.list” (the file that contains all of the repository information), so simply run the command:
sudo cp /etc/apt/sources.list /etc/apt/sources.list.bak
Now, we will open up the original “sources.list” file and set it all back to the intrepid repositories. This can easily be done with Gedit’s replace tool. You can, of course, use any other text editor. To open the file in Gedit, just type the following into a terminal.
sudo gedit /etc/apt/sources.list
In gedit, simply select the word “jaunty” anywhere in the file and click on “Replace” on the tool bar. When the dialogue box comes up, type “intrepid” into the box labeled “Replace With:” and click “Find” then “Replace All”
After replacing “jaunty”, save the file and close out of Gedit (or what ever text editor you used), and go back to a terminal and type:
sudo apt-get update
Once the repositories are updated, make sure all ATI drivers are uninstalled.
Now we will uninstall the current version of the xserver using the following command.
sudo apt-get autoremove xserver-xorg
This may take a minute or so. After it completes, we will reinstall the xserver and also install the ATI drivers.
sudo apt-get install xserver-xorg fglrx-amdcccle fglrx-kernel-source xorg-driver-fglrx
When everything is finished installing, you will want to open up Synaptic Package Manager and lock all of the xserver-xorg*, fglrx*, and xorg-driver-fglrx packages at their current version. This is done by selecting the package then going to the “Package” menu and clicking on “Lock Version”. You can also do this in the terminal by running:
sudo su
then
echo 'package-name hold' | dpkg --set-selections
Make sure to repeat the last command for each package that was installed by the previous commands. (This should total to about 44 packages or so.)
Once all of the xserver and ATI driver packages have been locked, run
sudo cp /etc/apt/sources.list.bak /etc/apt/sources.list
and restart your computer.
Once your computer restarts, all you should be able to use all of the features provided by the ATI drivers that were just installed.
EDIT: After you restart, make sure to go to the Hardware Drivers manager under the “System” menu: Administration > Hardware Drivers and enable that ATI driver and reboot again. (Thanks Nicholas)
Ubuntu 9.04 upgrade from Ubuntu 8.10 and ATI cards fglrx problem, The general step I took to fix it were:
Re: Ubuntu 9.04 upgrade from Ubuntu 8.10 and ATI cards fglrx problem
Same story as most here but now it's looking great and features that didn't work before now work. After doing the upgrade I was left a scrambled screen when it was to switch to hire mode. The general step I took to fix it were:
1. Booted from a Ubuntu Gutsy USB key. Other versions and CD should be fine too.
2. Opened a terminal and used "sudo su" to become root.
3. Mounted my hard drive. In my case "mkdir /mnt/sda5" then "mount -t ext3 /dev/sda5 /mnt/sda5". Use "fdisk -l" to find the right place.
4. Downloaded the latest diver using wget after finding the right URL from the ATI website. Look at
http://support.amd.com/us/gpudownload/Pages/index.aspx for my HD 3200 card I needed "wget
https://a248.e.akamai.net/f/674/9206/0/ ... x86_64.run"
5. After it download rebooted and selected recovery option at boot menu.
6. Selected the "NETROOT" option.
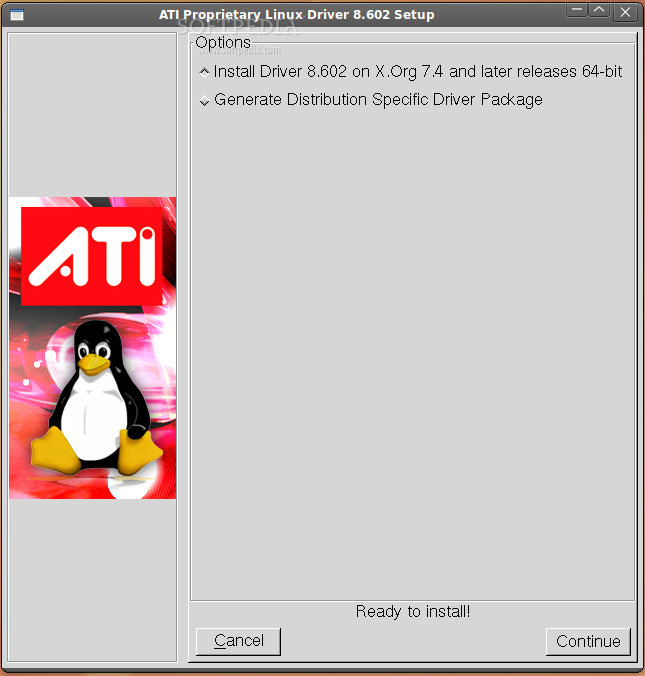
7. Ran the downloaded "sh ./downloadedfile".
8. Went with default options.
9. Rebooted and all was good in the world!
ATI显卡驱动下载地址
http://support.amd.com/us/gpudownload/Pages/index.aspx